Friday, July 30, 2010

Rain, Rain, Go away.... come back another ......

Yep since the day I started painted the new porch railing, I've had either RAIN or heavy dew! Its made it impossible to paint the second rail. So I simply have to wait until we have enough dry weather that the wood is dry enough to be painted.

In the meantime, I've been working on the kitchen. At least the indoor remodeling process can continue.

I've painted the kitchen upper cabinets a soft buttery yellow. Also the walls on the west side of the kitchen, nearest to the upper cabinets.


The lower cabinets, drawers and the south & east walls of the kitchen have been painted a bright canary yellow. This has worked well as these areas have far less light reflecting off them & the brighter color seems to help brighten the whole room as a result.


I've found a linoleum that I think will work nicely in the kitchen, giving it a needed face lift. The current flooring it the original wood flooring which is over 100 year old soft wood. Its quite worn & patched in places and still having the original trap door that went to the original root cellar, which is now accessed from a staircase in the back porch area.


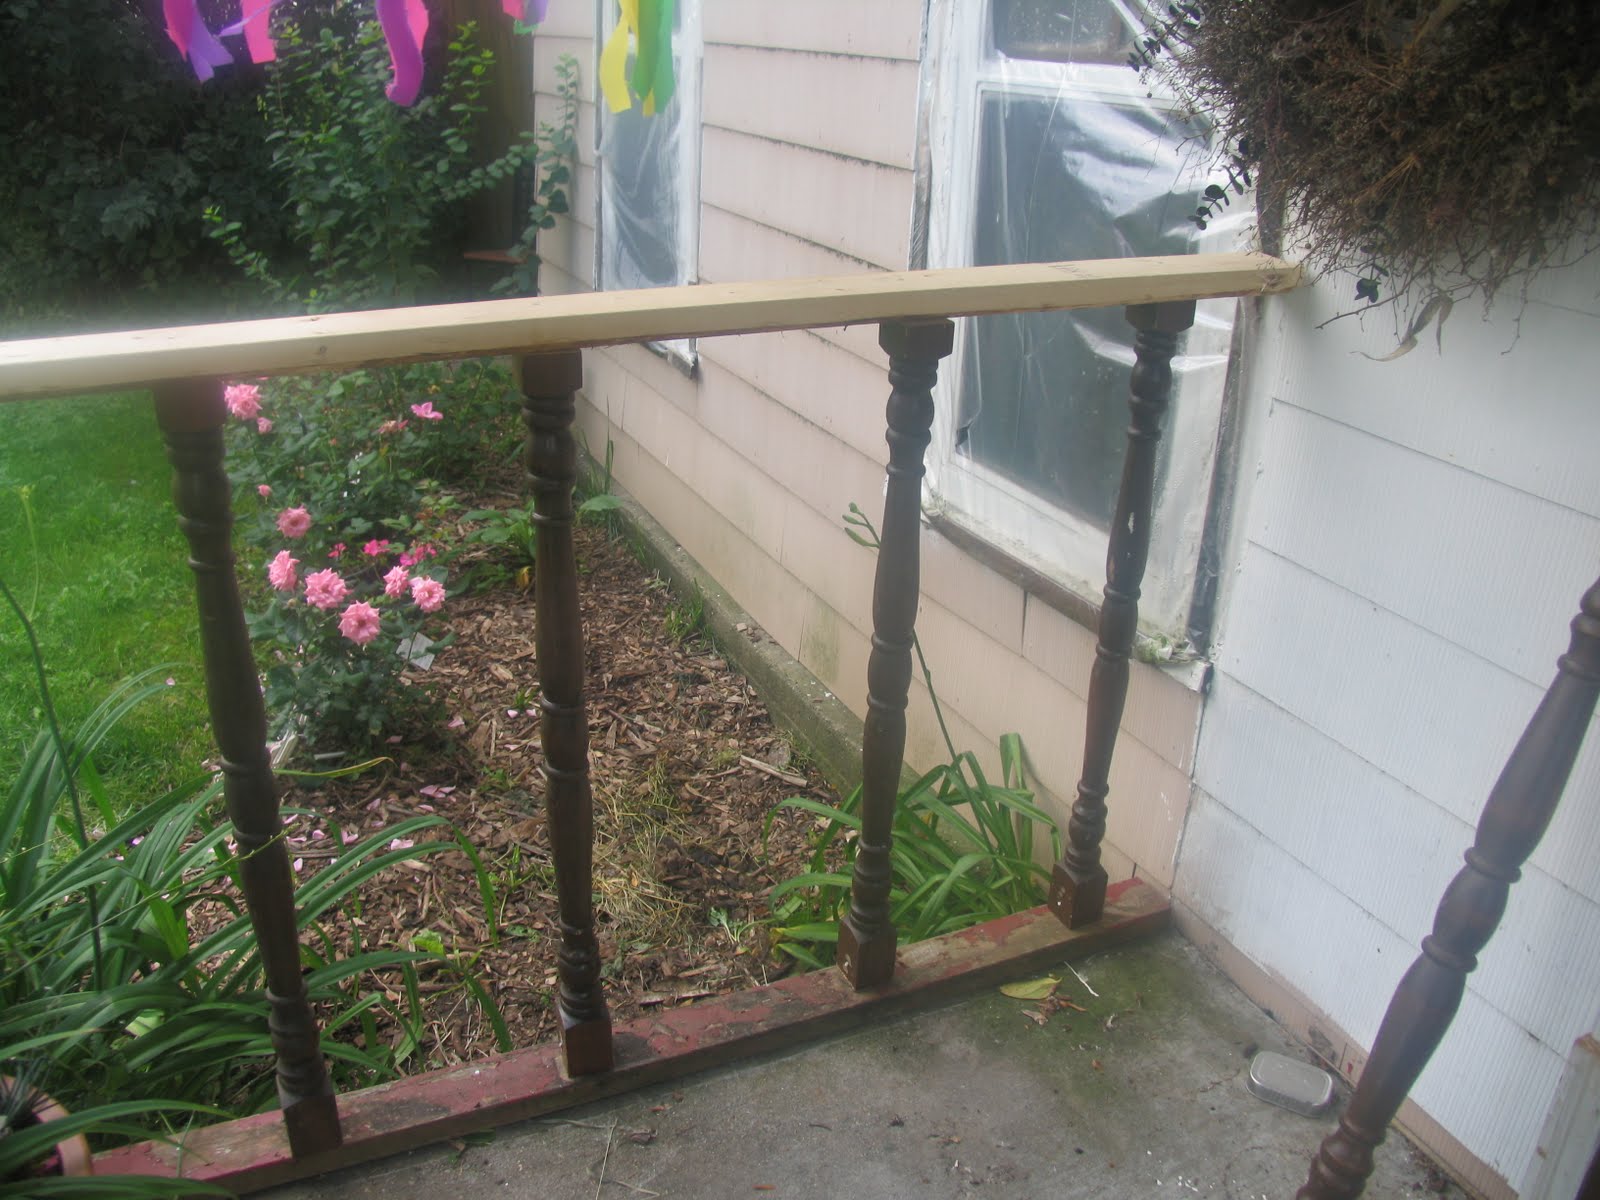
In addition to the Kitchen, I've spent a bit of "rain time" on setting the rest of the steel posts and installing the lattice work walls to the Secret Garden sculpture space. I gathered the lattice this past spring when the local town of Brookings had its "Spring clean-up" where by residents put out onto the curb items they are willing to give away or, if no one takes it, have the city haul away. This allowed me the means to reclaim numerous lattice work panels which for a few months have been piled in the intended area, waiting for me to install them.


Now that they are installed, I can begin clearing the construction debris from the installation of the french doors & focus on the paved patio area, walk paths, and sculpture pedestals.


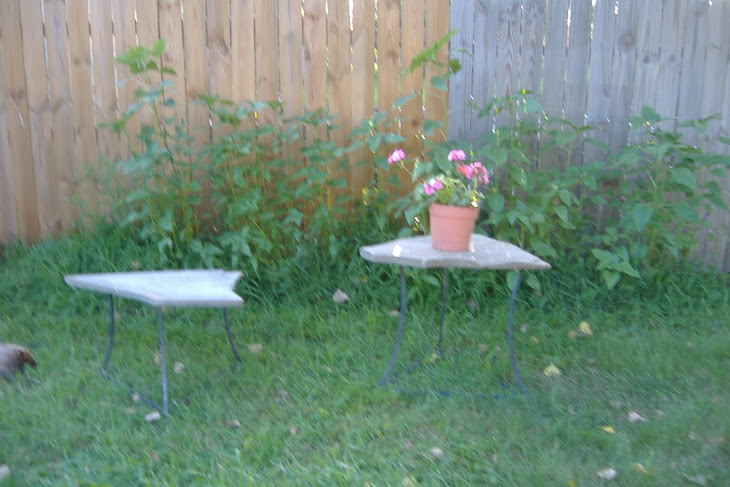
I've begun collecting reclaimed paving bricks to be used for the patio area and hope to find reclaimed rocks for paths and border areas to add to the sculpture garden space. My goal is to have a designated space within the garden that a bistro table and the two small pink & black chairs can be placed, giving people an opportunity to sit and have coffee or a cool beverage in the quiet garden space.


I've been reading about various cobble stone techniques as well as paving techniques. Though the space is narrow, I'm still going to be challenged at finding enough reclaimed bricks of the same style to complete the process. So I've decided to utilize some design techniques that will allow me to mix paving mediums and hopefully provide some visual inspirations. We shall see as time goes on, if I'm able to accomplish the goal.

Already I am beginning to place sculptures into the Secret Garden that Eric currently has stored, so as to begin the process of determining where within the garden spaces should be created.


The first to be placed was the newly painted sculpture "nocturnal". It was one I got as a gift from Eric. Its steel & field stone, with a very "earthy" feel to its form. I love the piece! I'm very happy to have it placed in my garden. The main challenge now is figuring out what sort of plantings I want to put at its base. I suspect hosta would be a good choice, but perhaps fern would be even better.

I'm also looking at changing the spacial use of the "Wall" which is the exterior wall of my "white room" studio. The large blank wall initially seemed to me to be a problem space. But as I consider wall relief space, I realize that large SOLID wall is one of the few places I can hang wall reliefs securely!


The current "framed vase" which I created will be moved to a lattice work wall, as it has little weight involved & could easily be installed on a lattice panel unit. The outdoor "hutch" also will move and be placed near the bistro table & chairs, after their space is determined.

So the remodeling continues and in so doing -- the changing of my decisions, from one moment to another as problems & solutions arise during the process. However, where things are changing, I'm also seeing progress which is the key to keeping inspired during this process. I've finally got a designated space for the Secret Garden and my kitchen is beginning to take shape. The "red gallery" is also beginning to take on its role as well. Things are therefore moving forward, despite the rain.

Wednesday, July 21, 2010

RECLAIMED Ballast Rods

Yesterday (July 20th) I spent the morning building my porch railing for the Gallery House while waiting for a couple of friends to show up for another project (they were moving their belongings from a storage unit to a space in our west house).

I acquired the ballast posts from Habitat Restore in Brookings for $1 each and also the lumber, nails & paint!

It only took a couple of hours to build the railing and to install it. May not be fancy but it does the trick!


Once I got the railing built, I began painting it. That helped a thousand fold to make it fit into the look of the porch!


The next step will be to finish the painting of the porch trim and eaves of the house as well as the extra wide door trim that was installed earlier this spring.

Thursday, July 8, 2010

Secret Garden landscaping & hardscaping

Well today I work on the hardscape of the "Secret Garden" sculpture garden. Come mosquitoes or rain the hardscaping needs to be installed. So I've got myself a can of 40% deet repellant for myself and figure the rain can't hurt me. So hopefully I can get the paving stones in place and the trellis walls installed.

My frugal hunt for paving materials has paid off. I was able to get over 200 paving stones for free, thanks to our local freecycle.com. They will work well to start the paved path that will run through the sculpture garden.

I've got also some ceramic tiles previously from the local freecycle, which will be used in one area to make an accented bistro area that is distinct in its "flooring" pattern from the other areas.

I've been decorating the secret garden with outdoor "decor" to make it a space that is more like an indoor space, then an outdoor space.

I planted shade loving plants along the parameter of the space to give it more appeal visually as well. I want to create a secure area that can be accessed from the Blue Gallery, that will allow customers an opportunity to see sculptures in a garden space, yet keep the space separate from our private yard.

The secret garden approach appears to be accomplishing that task nicely.

The most challenging part is having it so that sculptures aren't all viewed from one spot in the narrow space. I'm trying to determine how I can make hidden niches without the use of low cost lattice work. I'm considering using some concrete Niche techniques where I build niches here and there using concrete block and other natural materials. But that will be for another day. Right now, I'm just working to get the parameter walls put into place and the primary paved "floor" into place.

Hoping this will improve the appearance several times over, from the current old wire fence overgrown with vine and the view of the neighbor's kitchen wall.

Friday, July 2, 2010

Summer - the season of construction

We're working to get the red gallery ready as a retail exhibit space. We've been shifting the furniture that was in the room temporarily while we remodeled up stairs, and now have cleared almost everything out.

We still have to repair the window panes of the bay window and replace the storms for all the windows. The ugly green shag carpeting was pulled out, accept for that which was mounted on the bay window wall, below the windows. That will soon be peeled off and discarded as well. (But its soooooo attractive! YUK!)


We have original wood flooring throughout the room which we will be sealing with a layer of paint (as was the historical way to deal with wood floors). Along the edge of the room, you can see the remnants of the green floor pain that had been painted onto the floor where the area carpet had not been. It was a common practice at the time. We will however be painting the entire floor and then place the area rug (see in photos) back into the room.


We're also working this weekend to create more custom steel shelving. Some will be pedestal styles similar to those in the photos and others will be glass topped shelving with steel framing. Hope to border most of the room with shelving that can display works of art & fine crafts.


The process is introducing me to whole new levels of frugal. Went to the Habitat Restore and found some interior paint. Not enough of any one color to compete the tasks at hand, but its helpful having an artist at home who knows what colors will be produced when we mix different colored paints!

We've also decided that we will be using the technique in which we rag a second layer (of a different color) over the top of a previous painted area. This allows us to use less of one color to coat an entire wall or room.

Next major scrounging will be for suitable wood to make custom trim. We've got the router and hope we're able to get the needed boards to make the older styled Mop boards which are far deeper & wider than modern trim boards. In so doing, we hope to create the look of the original era of the home. Only time will tell how successful we are.


Earlier in the spring we were able to install the needed wall heating furnace. Its visible in some of the images. Unfortunately the only wall we were able to place it on was the "Red wall" which was our accent wall. Unfortunate in that the ivory colored wall heater is a blatant soar, in my opinion, on the otherwise attractive accent wall. I've considered using some camo techniques and take and build a false mantel around it so that it looks less obtrusive. I've got the needed 2x4s and wainescotting that I could perhaps full it off. As well has having recently obtained some great looking rough sawn planks which would make a great mantel.

Search This Blog